
Piranesi Plugins for Autodesk® 3ds Max®
These plugins enable Autodesk 3ds Max and 3ds Max Design to render a scene to an EPix file or panorama.
Plugin for 3ds Max 2017
Plugin for 3ds Max 2015
Plugin for 3ds Max 2014 x64
Plugin for 3ds Max 2013 (32-bit) or
64-bit
Plugin for 3ds Max 2012 (32-bit) or
64-bit
Plugin for 3ds Max 2011 (32-bit) or
64-bit
Plugin for 3ds Max 2010 (32-bit) or
64-bit
Plugin for 3ds Max 2009 and 3ds Max Design 2009 (32-bit) or
64-bit
Plugin for 3ds Max 9, 3ds Max 2008 and VIZ 2008 (32-bit) or
3ds Max 9 (64-bit)
Plugin for 3ds Max 6, 7, 8 and VIZ 2005, 2006, 2007
To add the EPix plugin
- Copy the saveepix.bmi file to the Plugins folder in your 3ds Max installation folder e.g. C:\Program Files\Autodesk\3ds Max 2017\plugins or in C:\Program Files (x86)
- Start 3ds Max. To check that the EPix file plugin is present:
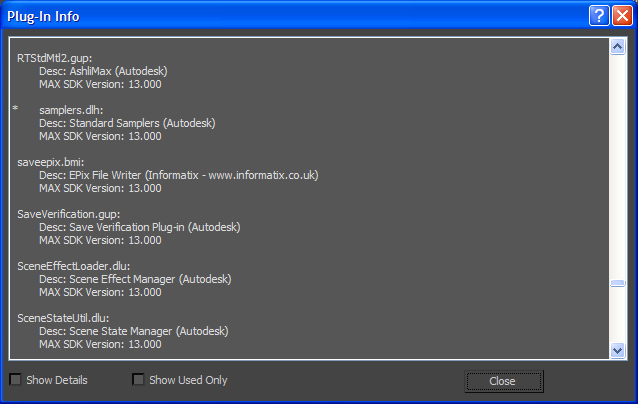
- On the Application menu, click Properties > Summary Info or, in later versions, click Plug-in Manager on the Customize menu.
- Click the Plug-In Info button and saveepix.bmi should be listed
To save an image as an EPix file
- Ensure that every object in the image is named or has been assigned a named material
- Select the view to save
- On the Rendering menu, click Render Setup:
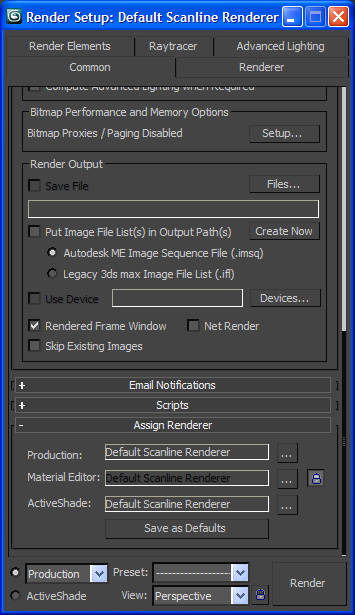
Note that this window shows the "Assign Renderer" section, which is where you set the default scanline renderer, as mentioned under Known issues below. - On the Common parameters tab, scroll down to the Render Output section and click the Files button.
The Render Output File window is displayed:
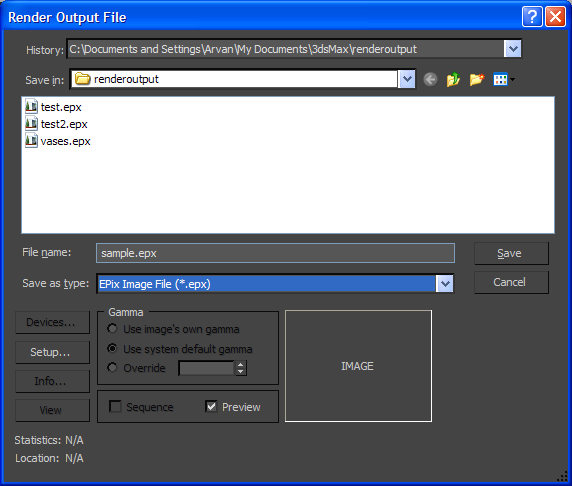
- Select the folder in which to create the new file and type a name for the new EPix file
- Select "EPix Image File (*.epx)" from the list of file types
- If you want to use object names, instead of material names, click Setup...
- Click Save
- Click Render in the Render Setup window to create the EPix file
Creating Piranesi Panorama files
To install the script:
- Copy stitch.exe and saveepix_panorama.mcr into the scripts\utilities folder of the 3ds Max installation. Create a Utilities folder under Scripts if necessary
- Start 3ds Max
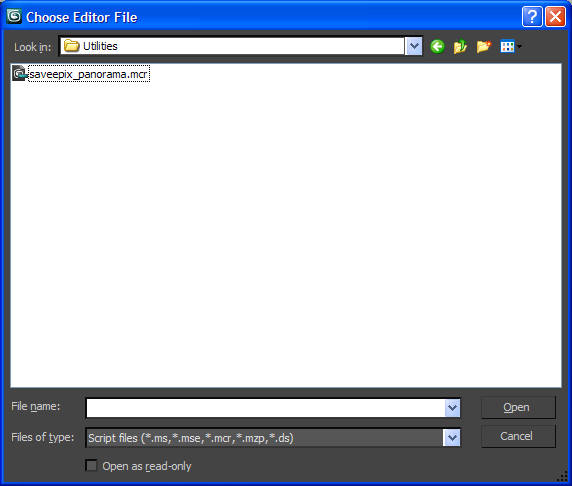
- Run the script by clicking MAXScript > Run Script
- Browse to the scripts\utilities folder and open the saveepix_panorama.mcr script
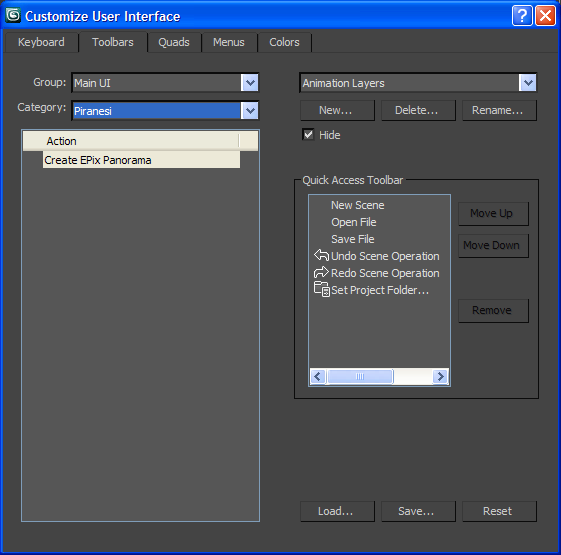
- From the Customize menu, select Customize User Interface, click the Toolbars tab and, if required, choose Piranesi from the category list.
Then drag a button for the "Create EPix Panorama" action in the Piranesi category onto a convenient toolbar.
The button will be labelled "Make EPP"
To use the script:
- Click the "Make EPP" button
- Choose a camera and resolution, then click Create File
Known Issues with EPix Generation
The Material channel in the EPix file uses the names and diffuse colours of materials, and uses the names and colours of objects without materials. If an unnamed object has no material, a name of the form "Unnamed 1" is generated.
The plug-in may not work with third-party renderers. If you have problems
rendering the RGB for the EPix file:
- render the view to a PNG image file, the same size as the EPix render
- open the EPix file in Piranesi
- use File/Import to import the PNG
- use File/Re-Render
If the depths and materials are not rendered correctly either, try selecting the Default Scanline renderer to render the EPix file, then import the PNG file as above.
3ds Max divides facets into triangles for rendering. In an EPix file produced from an anti-aliased rendering, the pixels on the edges of these triangles do not have the correct depths for Piranesi. We therefore recommend generating perspective views without anti-aliasing.
To use an anti-aliased RGB channel:
- In 3ds Max:
- use the default scanline renderer to render the scene to an EPix file, with anti-aliasing turned off
- now render the same scene with the Mental Ray renderer with anti-aliasing switched on, to an image file, for example to PNG format. This produces a high quality RGB file. Make sure you have the same view and resolution as the EPix file.
- In Piranesi:
- open the EPix file in Piranesi
- use File > Import to import the high quality image file
- use File > Re-Render to replace the original RGB channel with the imported one
Autodesk, AutoCAD and 3ds Max are registered trademarks or trademarks of Autodesk, Inc., and/or its subsidiaries and/or affiliates in the USA and/or other countries